The Open Database Connectivity, shortly called ODBC, is a standard API (Application Programming Interface) for accessing the DBMS (Database Management System). Let us see the step-by-step approach to Creating ODBC Connection for SQL Server in Windows 10.
How to Create ODBC Connection for SQL Server
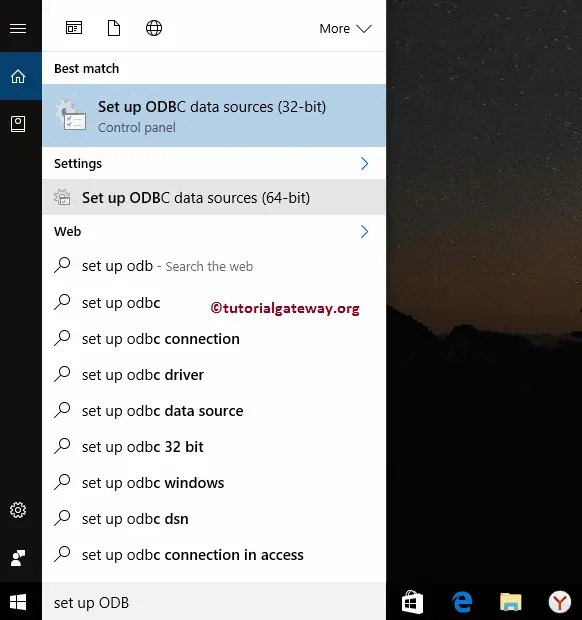
Step 1: Go to the search bar and type Set up ODBC data sources, and this will show two options: 32-bit & 64-bit. Our system is Windows 64-bit, so we are selecting the Setup ODBC data sources (64-bit) to establish a Connection to SQL Server.
TIP: If your system is 32-bit, then select the 32-bit and follow the remaining steps.
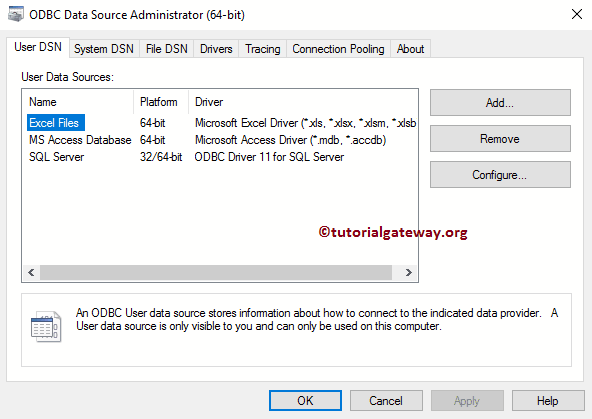
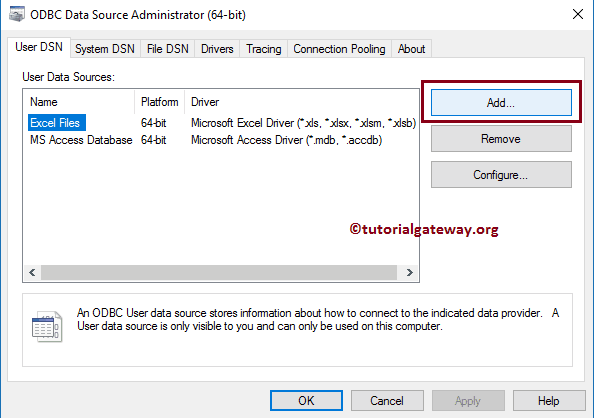
Step 2: Once you click on the Set up ODBC data sources (64-bit) option, ODBC Data Source Administrator (64-bit) Window opens. From the below screenshot, you can observe that it is showing up the existing connections. To add a new ODBC connection in Windows, please click on the Add button.
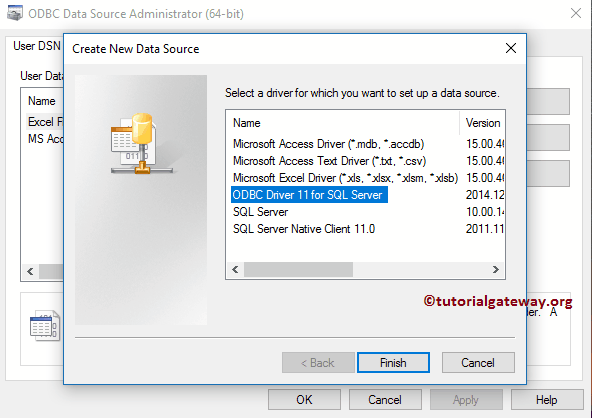
Step 3: Once you click on the Add button, Create New Data Source window will open. Here we have to select the required driver from the list of available drivers. In this example, we want to create a connection for SQL Server. So, we are selecting ODBC Driver 11 for SQL Server (any DBMS that supports it). You can also select the Native Client 11.0 (Only for SQL Server).
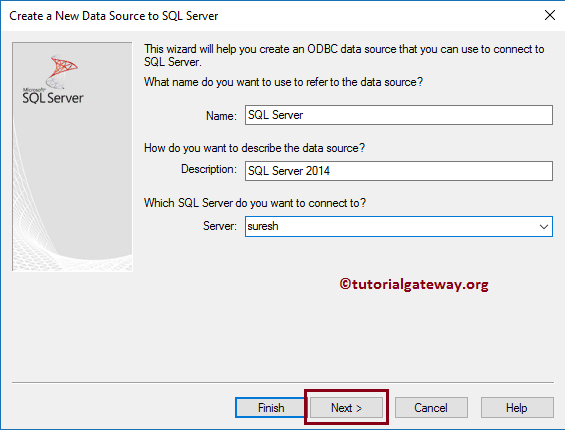
Step 4: Once you click on the Finish button, a new pop-up window called Create a New Data Source to SQL Server will open. Here we have to fill in the required details to establish a Windows ODBC connection to SQL Server.
- Name: Please specify a unique name for this Connection. Here we are assigning the name.
- Description: Please specify the valid description of the connection we are going to establish.
- Server: Please specify the Database Server name.
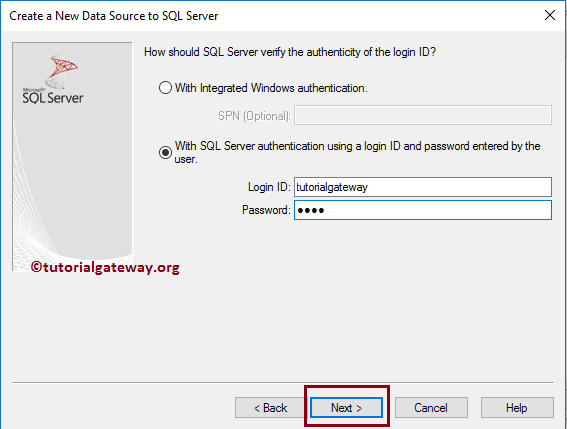
Step 5: Next, We have to provide the required credentials to connect with the respective database (SQL Server). Let me give you the Username and password for our Microsoft SQL Server 2014. After you fill in the details, please click on the Next button. It will connect the database and display the list of databases available for the user tutorialgateway.
TIP: Please replace those credentials with your credentials.
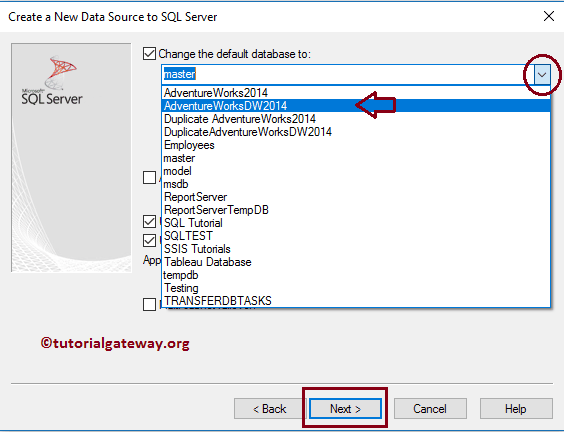
Step 6: From the below screenshot, you can observe that we are selecting the AdventureWorksDW2014 database as our default database.
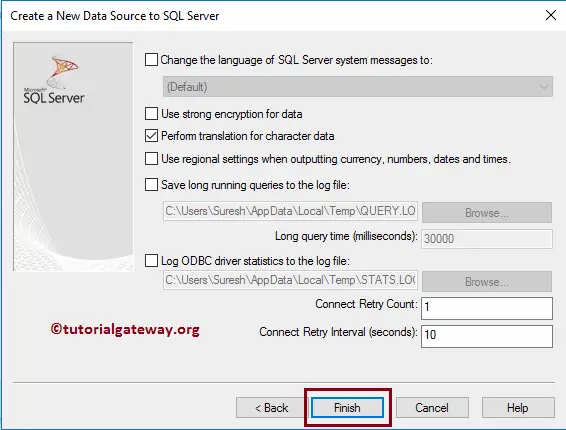
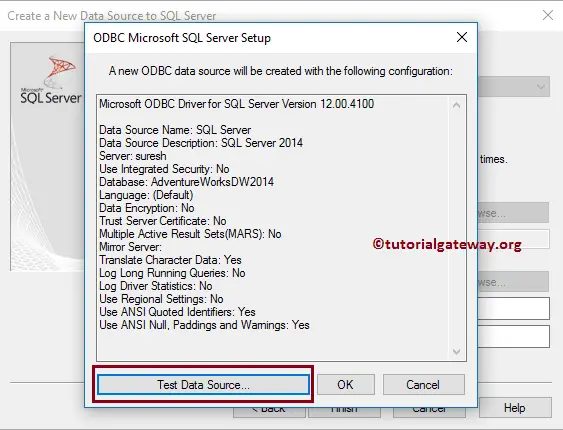
Step 7 : Click on the finish button to finish configuring the ODBC connection for SQL Server in Windows.
Once you click on the finish button, a pop-up window opens to test the connection. Either you can test it by clicking the Test Data Sources.. button or clicking on the cancel button. We strongly recommend you test the data source.
Once you click on the Test Data Sources.. button, it will display the test result.
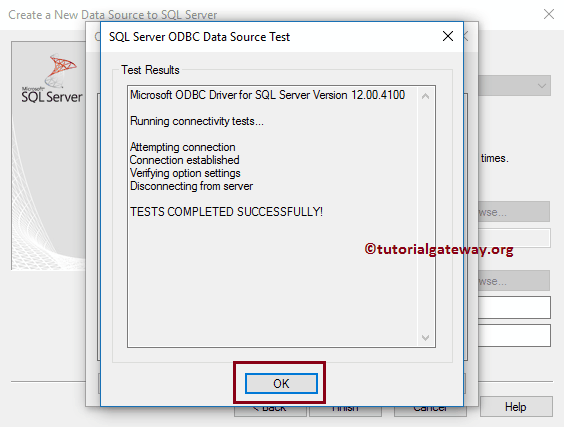
The following screenshot will show you the newly created connection. Click OK to close the window.